How to Deploy WebXone to Local Test Server
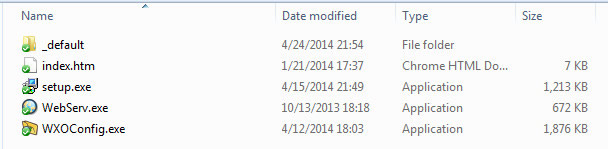
Unzip webxone.zip to your computer and run [webxone] > [WWW] > [SmartServ.exe]. Now you have already setup a local test server. Visit the test link <http://127.0.0.1:8080> (change 8080 to your port), you will be able to visit the default test page of your local test server. If this is the first time you open this test page, you need to install WebXone plugin before you can load it.
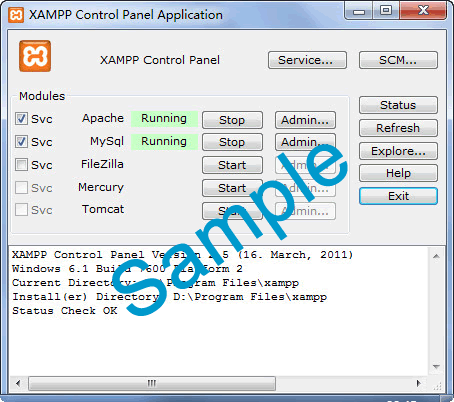
Alternatively, you can also setup a local test server by using other programs such as XAMPP. Just set the folder [WWW] as root of your local test server and you would be able to open test page too.
Step.1 Setup a local server.
Step.2 Copy all the files in [WWW] folder and paste them to the root of local test server. Otherwise you can set folder [WWW] as the root of local test server.
Step.3 Open the test link <http://127.0.0.1:8080> (change 8080 to your port). If this is the first time you open this test page, you will be asked to install WebXone plugin.
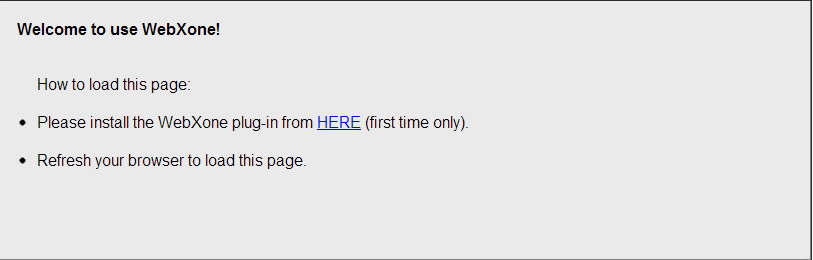
Step.4 After you have installed WebXone plugin, refresh your browser then you would see the test page and this means you have successfully deployed WebXone to your local test server.

AthTek WebXone

AthTek WebXone is an advanced RIA builder which can convert C/S type program to B/S type web app. It enables software developers to create web based applications directly in C++Builder, VC, VB, Delphi and PowerBuilder.
Software Overview
Users' Review
 It is an intelligent web based app creator. I can use it to development various applications for my website with C and Delphi directly! Jesus, what a sharp tool! I will suggest you guys to make the created apps compatible with Mac OS in the following updates. Thanks for all!
----------- Rajesh from Delhi
Solutions